Posted on 2022-03-09 by Alexei Doudkine in Tools of the Trade
This post is going to be a little different. Instead of talking about the industry or business security, I’m going to share my guide on how to set up your own basic personal security. It is intended to be followed by non-technical people in 4 Fridays. My goal is to get as many people on this basic programme as I can, so I do ask you to share it with your friends and family. And, if you are a bit more tech-savvy, please help them along the way. 🙂
I’ve also included a 📃 PDF version of this guide if you prefer to print it out.
Without further ado, here is: Basic security for humans in 4 Fridays.
What’s all this about, anyway?
I see people get hacked almost every week. My mum, my dad, close friends, and their friends have called me up in that moment of dread when they realise something isn’t quite right. While most cases thankfully turned out okay, some resulted in thousands of dollars being stolen and hours on the phone to unhelpful support staff at giant organisations. I hate seeing this! Few things make my blood boil more than watching someone being taken advantage of, and I’m passionate about trying to prevent it. If this has happened to you, know that it’s not your fault, and there are steps you can take to protect yourself, your money and your data from being hacked. Want to improve your personal security? Read on.
Over the next several Fridays (or actually any other day that works for you), we’re going to improve your personal security. This guide has specific, easy to understand steps to follow and if you follow them, your security will be better than 95% of people. I have only covered what I think are the bare essentials, so this isn’t a comprehensive guide. It’s important to not go overboard with security right away, but rather, make it a gradual progression. You’re not going to be secure overnight, but small changes over time really work; like a diet or going to the gym.
To most, this probably seems like a chore; which it is, I won’t lie. Like with any chore, you should reward yourself for doing it! Finished setting up your password manager? Order a pizza! Set up Multi-Factor Auth? Book a massage! Pretty soon, you will feel good about taking security into your own hands instead of just hoping to not get hacked.
Finally, before we start, this advice and guide applies to your personal security. You can also apply it to your workplace, but check with them first as they might already have their own security policies in place. Okay, let’s get started with the first Friday!
1st Friday: Password Security
Why should you use a password manager?
Why even bother? Well, it turns out that re-using your password between multiple websites is a massive security risk. You can never be sure if the website you are signing up to is storing your passwords properly, and if it gets leaked then someone can log into every other account you own that uses the same password.
So now you have to remember a unique and strong password for every password. That is an incredibly hard task and can also be time consuming. Fear not! There is a way that you only need to remember 1 password and still be secure. And, as a bonus, you don’t have to type your username and password into websites anymore! You can achieve this with a password manager (sometimes called a password vault).
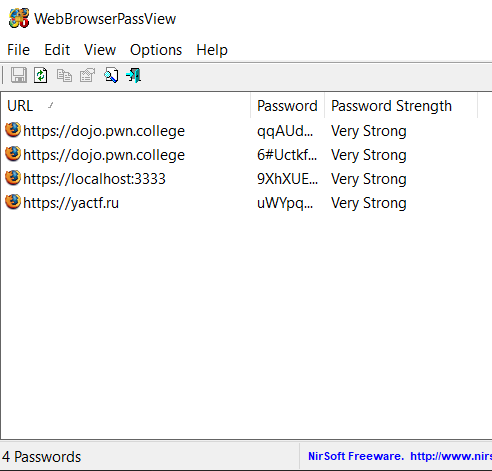
Why you shouldn’t use the browser’s password manager
Well, they just aren’t that secure! Hackers can use tools to quickly and reliably recover all passwords saved in the default browser password storage. This is a common practice after hacking someone. For example, WebBrowserPassView will instantly show all saved passwords:
This is different to password managers which require you to login before you can access your passwords. Don’t get me wrong… There are ways to break into any password manager - nothing is 100% secure - but it is much harder.
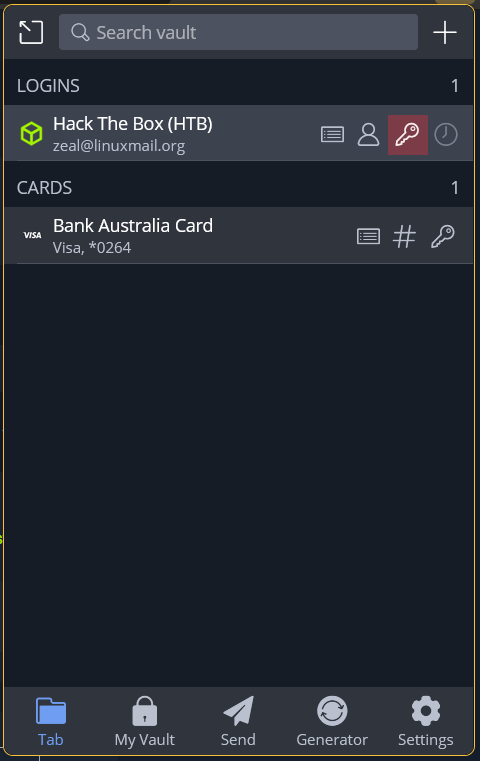
Password Manager — Bitwarden
Okay! Time to take out your laptop and get started on your first task: setting up a password manager. We’re going to use Bitwarden. Bitwarden is a free, open-source password manager. It provides browser extensions as well as a web, desktop and mobile application, which means you can access your passwords wherever you are. However, to keep things simple, you’re just going to set up the browser extension today.
Bitwarden will store the username and password for all of your online accounts and keep them in a digital safe. To unlock that safe, you will need to login to Bitwarden using a master password, the only password you need to remember.
By the end of today you will have:
- Installed a password manager inside your browser
- Created a master password; the one password you actually need to remember
- Added all your important accounts into Bitwarden and changed their passwords to randomly generated, secure ones
- Practised logging into an online account using Bitwarden
“But I don’t want Bitwarden to know all my passwords”, I hear you exclaiming. Good catch! But Bitwarden never actually sees any of your data. Your own computer will encrypt everything you store in Bitwarden using your master password before it sends anything to their servers. Your master password is never sent to Bitwarden servers. What this means is, even if a hacker gains access to Bitwarden servers, they would need your master password to decrypt the passwords, which they (probably) don’t have.
Creating an account
Firstly, we need to create a Bitwarden account. When creating an account it is important that you choose one secure, memorable password. Longer passwords are more secure than ones that need an uppercase, lowercase, number, special character, an Egyptian hieroglyph and the Batman symbol. So, we’ll use a passphrase instead of a password. Here are some examples of good passphrases:
- overcrowd dreamt wish boat vendor
- harmonica elbow chatty chill sufferer
- blurb grating occupy caregiver staff
- dallying antitoxic coconut moonlight pamperer
(Don’t use the above now that I’ve mentioned them!!)
You’ll start to notice a pattern, all of these passwords contain multiple words. These were all generated using Diceware: https://theworld.com/~reinhold/diceware.html. While this may not initially seem as safe as a password like %Vk9JNih, in practice it is much more so.
- An eight character password like this is 1 of 6,095,689,385,410,816 permutations.
- A five word password from Diceware is 1 of 28,430,288,029,929,700,000 permutations.
And of the two, remembering a short sequence of words is a lot easier then a random jumble of characters.
Once you have chosen a password, the account can be created on the Bitwarden website: https://vault.bitwarden.com/#/register.
Human memory is fickle at best, so we will write down the master password on a piece of paper; but not so we can quickly access it like on a sticky note. Put the paper into an envelope marked “Master Password” and store it in the same place as your birth certificate, passports and other important documents. In case of emergencies or if you forget the master password, you or a trusted person like your significant other can access it. This is one of only two times I will ask you to write down your password. Generally speaking, you should NOT be writing down your passwords.
It is important to remember that Bitwarden cannot recover your account in case you forget your master password. If you lose this password, you lose the account and all credentials saved within so it’s always good to have a backup plan.
Installing the browser extension
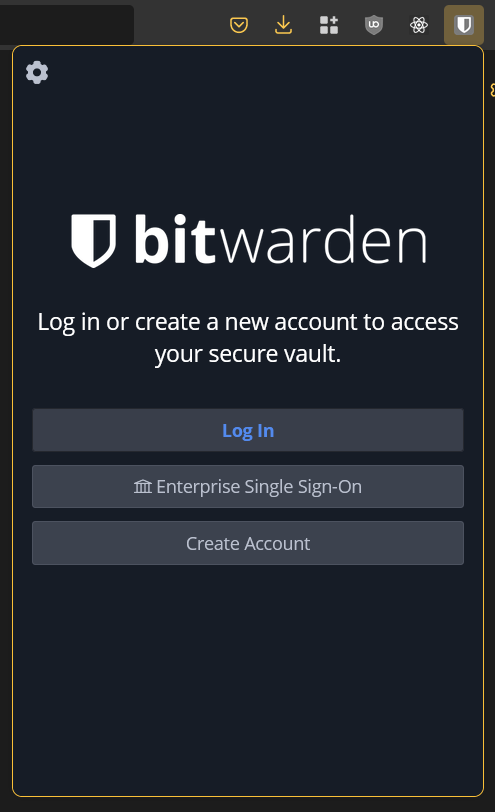
Now that we have an account, it’s time to install the Bitwarden browser extension. All the download options for Bitwarden are available here: https://bitwarden.com/download/. Once the extension is installed, the Bitwarden logo should appear in the top right of the browser. Clicking on this will open up a login screen as shown in the following screenshot:
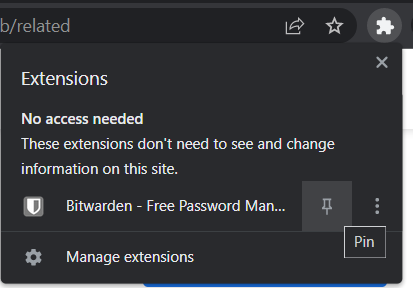
In Google Chrome this icon might not be pinned to the bar, and will have to manually be pinned as shown here:
Make sure you can login to Bitwarden using the account you made earlier. If it works Bitwarden is installed and ready to use!
Managing important accounts
In this section, you’re going to save your most important accounts into Bitwarden so that you don’t need to remember the details anymore. Once you’ve done that, you’ll go and change that password and update it in Bitwarden.
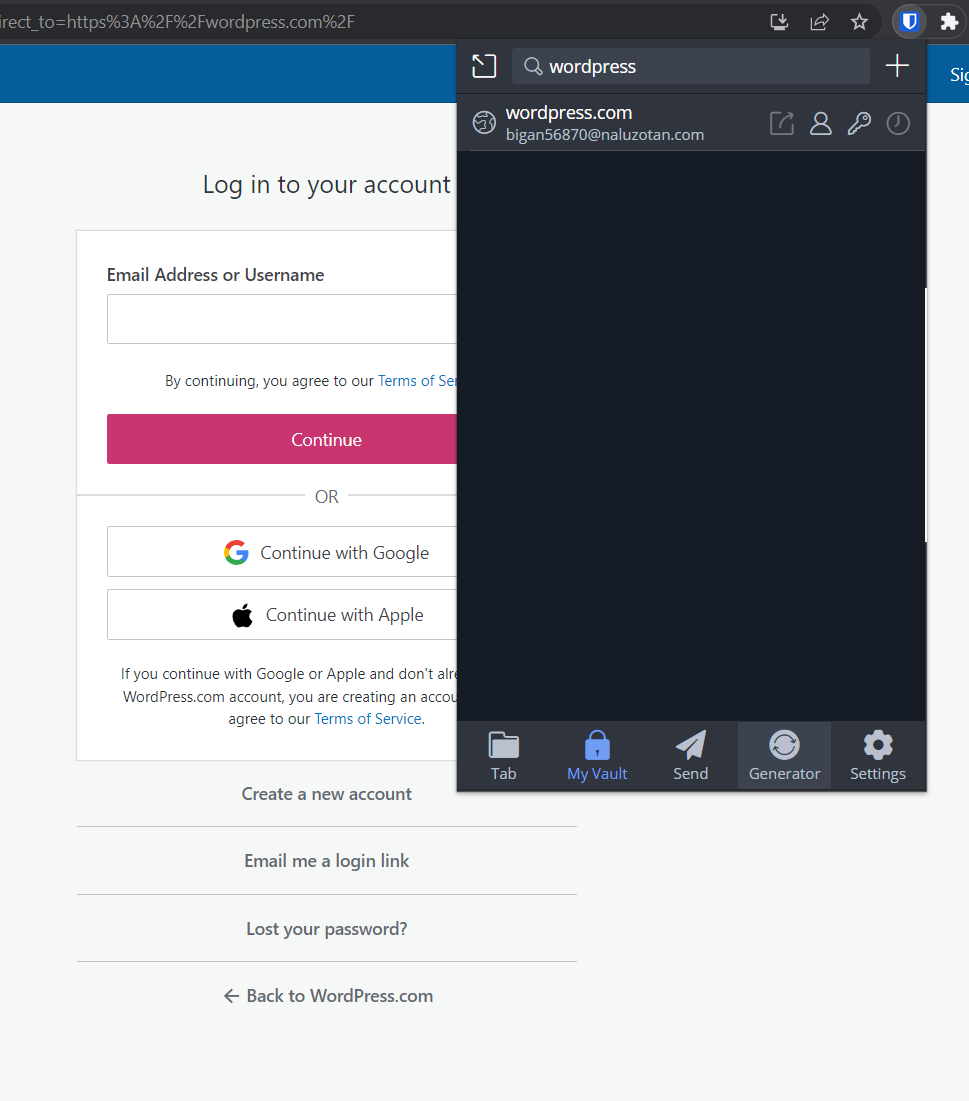
Logging into a website and saving it with Bitwarden
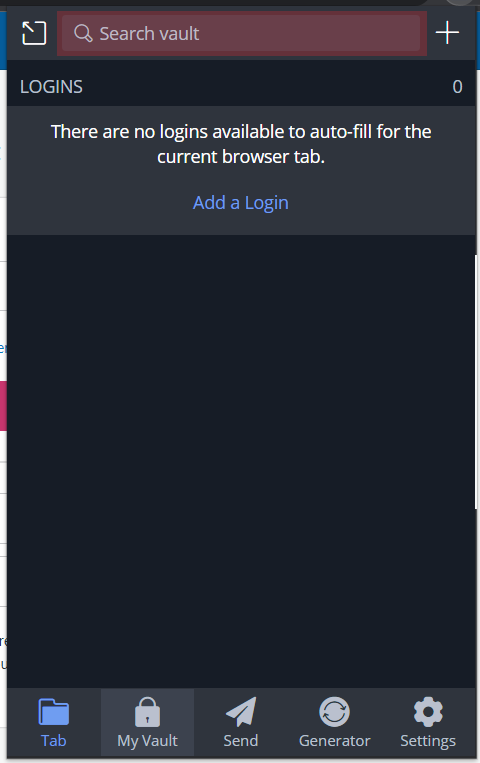
Any time you login to a website without Bitwarden, Bitwarden will offer to save those credentials for you into the vault. Once these credentials are saved, they can be used by clicking the Bitwarden icon and then clicking the appropriately named account. Sometimes, the autofill feature of Bitwarden will not work. In this case, clicking the key icon as shown in the next screenshot will copy the password to your clipboard, so you can paste it into the password field using Ctrl+V (or right-click paste).
Go ahead and try doing that with, say, your online banking account.
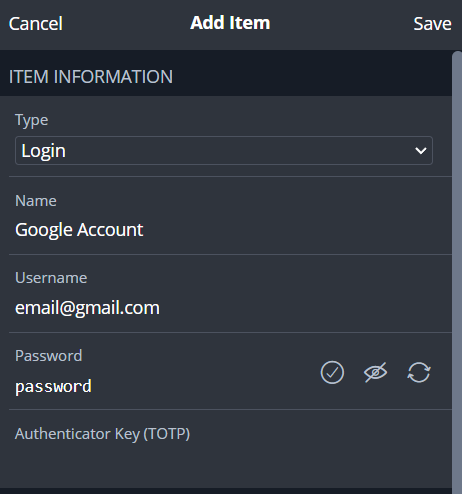
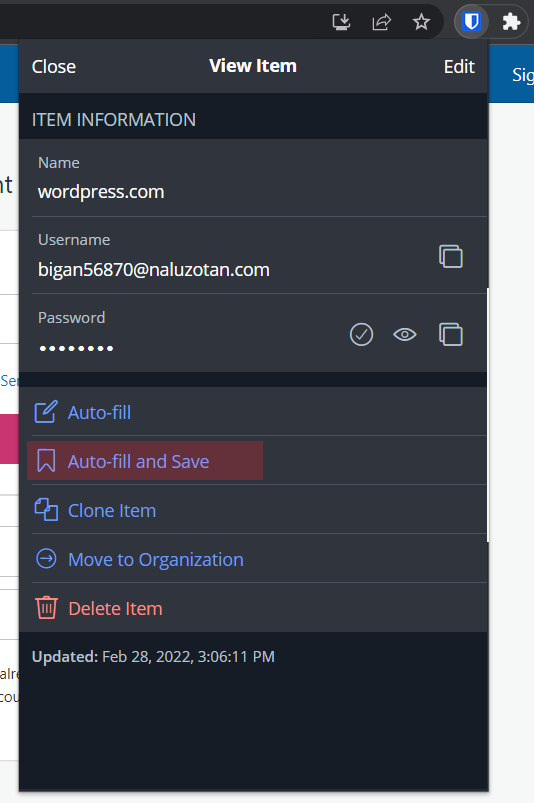
Manually saving an account in Bitwarden
Bitwarden isn’t perfect, and sometimes it doesn’t detect that you have logged in anywhere. In this case, you’ll need to manually add your username and password to Bitwarden.
Once that’s done, associate the website you’re currently on with the account you just saved to Bitwarden. Do this by clicking the Auto-fill and Save button. This will connect the credentials to this website and allow you to use Bitwarden as normal from now on. This process is shown in the following screenshots:
Changing your password
Now that the account is saved in Bitwarden, go ahead and change the password through your bank’s (or whatever service’s) website. You’re going to make the password strong; like, really strong!
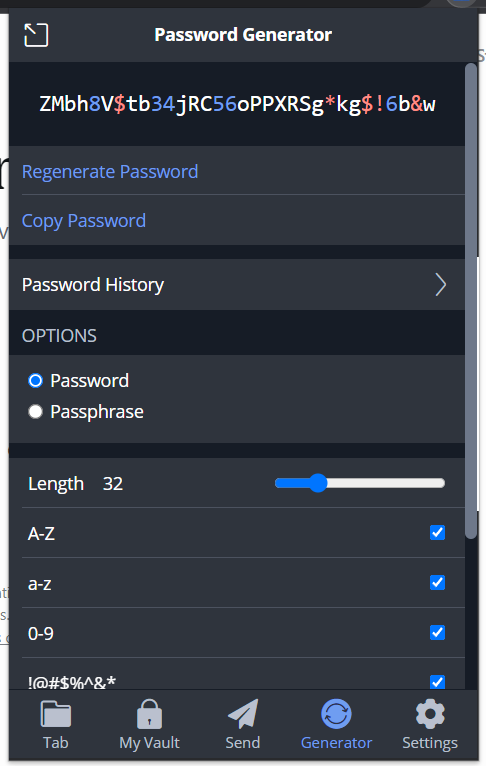
When you’re at the “change password” page, you can copy the current password into the ‘current password’ field and use the regenerate button provided by Bitwarden to generate a new, random and secure password. This button is shown in the following screenshot:
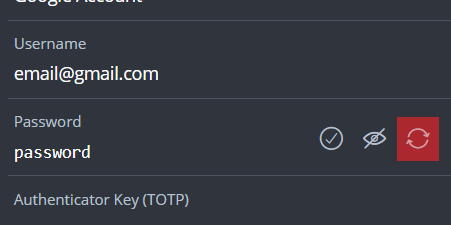
Make sure you’re generating a password that is 32 characters in length. Don’t worry, Bitwarden will remember it for you, and fill it in for you too.
After you perform the password change, Bitwarden should prompt you to update its copy of the saved password. We did, in fact, change the password so… yes update it!
Finally, let’s make sure all that worked. Log out of the website, then use Bitwarden to log back in, again. Hopefully that all went well, but if it didn’t and you can’t login, time to reset your password and try again. Doing this check is generally good practice each time you change a password, since you want to make sure what is stored in Bitwarden is your current password.
Rinse, repeat
Go ahead and do the same thing for all your other important accounts. Your banking, your email, social media and anything else super important to you. For now, we’ll only focus on the important accounts, but get familiar with this process; you’ll do it for all your accounts later on.
Awesome! You’ve completed your first step to seriously increasing your security. Go order that pizza as a reward; extra cheese!
2nd Friday: Multi-Factor Authentication (MFA)
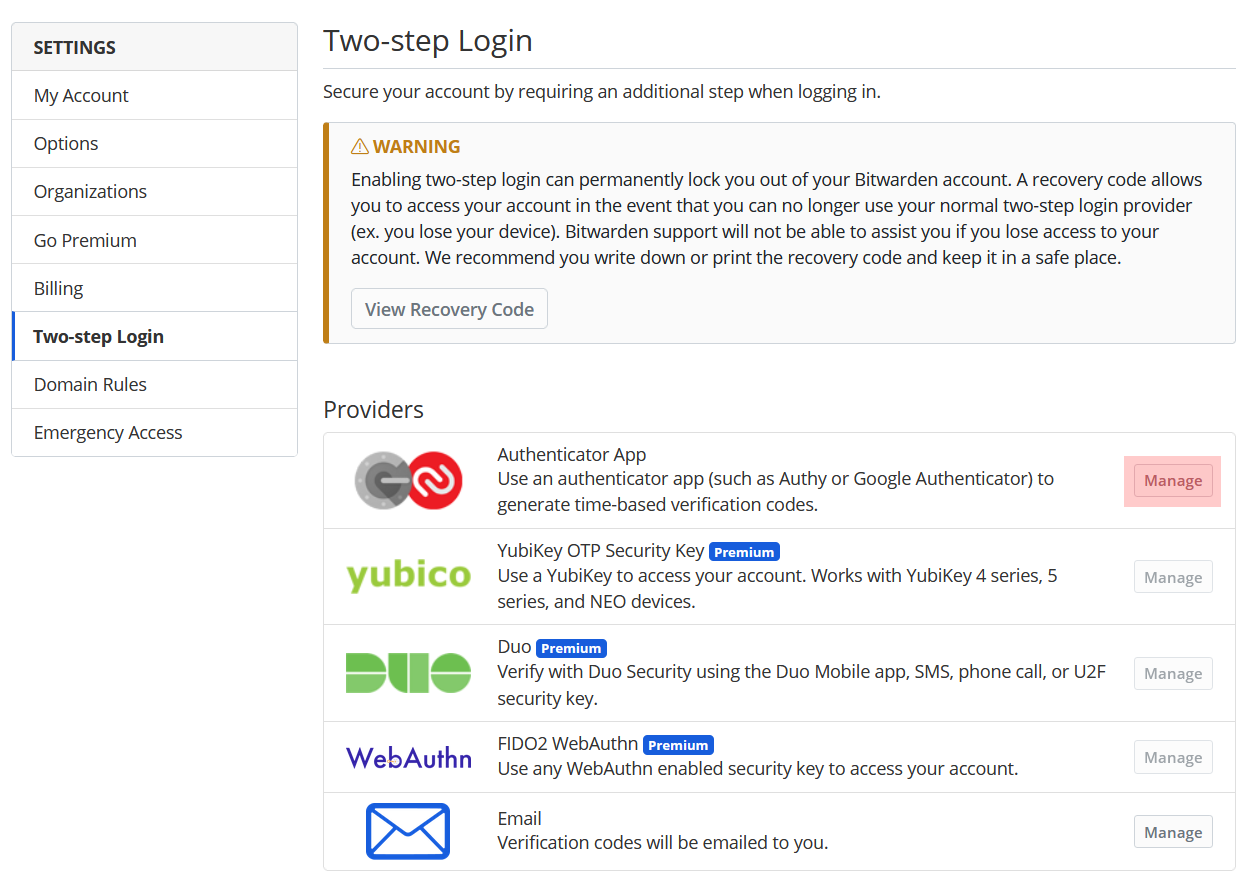
Now that you’ve set up Bitwarden and are protecting your most important accounts, we need a way to protect Bitwarden itself. You already have your master password protecting it, but given how sensitive the information within is, 1 factor is not enough. We’re going to use Multi-Factor Authentication (MFA; sometimes called 2FA) for added protection. But what is MFA?
We have 3 factors to choose from:
- Something you know - e.g. your master password
- Something you have - e.g. your mobile phone or a hardware token
- Something you are - e.g. your face or your fingerprint.
To prove to Bitwarden that you are who you say you are, we’ll use the first 2 factors. Specifically, your master password and your mobile; And, to prove ownership of your phone we’ll use an app called Authy. What this all means, is that if a hacker somehow discovers your master password, they still cannot login to your account without having access to your unlocked phone. That’s good!
Authy
How does Authy work? It talks to the service (let’s use Bitwarden as an example) and says, “Okay! Here is an infinite list of secret codes we will agree to use, and every 30 seconds we’ll move to the next code.” So the first code might be 128365, but 30 seconds later the code changes to 881264. These codes are unpredictable. Then, once you go and login, Bitwarden will ask you “Hey! What’s your code for this block of 30 seconds?” You type in the code you see in Authy, and if it matches, you’re in!
Authy provides a way to store these multi-factor authentication (MFA) codes (also called tokens). The benefit of Authy compared to other solutions, such as Google Authenticator, is that codes are encrypted on your device and then backed-up to the cloud so that losing your phone does not mean losing access to all your codes.
Creating an Authy account
To create an Authy account, download the mobile application and input a phone number and email address. The download links for Authy can be found here, but I recommend just going to the relevant app store and searching for ‘Authy’:
- Android App — https://play.google.com/store/apps/details?id=com.authy.authy
- iOS App — https://apps.apple.com/us/app/authy/id494168017
Adding a backup password to Authy
Authy will prompt you to set a backup password for your tokens. You should definitely set one, and make it different to your Bitwarden master password. Don’t add it to Bitwarden, though. You need to remember this one. (Okay, I kind of lied before… You’ll need to remember 2 passwords.) This password will be used to recover your MFA codes in-case your phone dies or gets lost or stolen. This has happened to me and, boy, was I happy I had my recovery password. It also makes it easier when you’re upgrading your phone.
To enable backups, click the three dots in the top right of the app, click settings, navigate to the ‘Accounts’ tab. Inside this tab you can enable backups and set a password for the backup. Similar to the Bitwarden password, it is important to write it down on a piece of paper, put it in an envelope and store it in a secure location, such as with your passport and other documents. This is the 2nd and final time you should ever write down your password.
Again, we recommend creating this password with Diceware: https://theworld.com/~reinhold/diceware.html. Alternatively, now you can use the password generator in Bitwarden in passphrase mode which will generate a given number of words for a password.
Adding an MFA QR code to Authy
Authy actually provides instructions for adding MFA codes from many applications, including Bitwarden. The list of searchable guides can be found here: https://authy.com/guides/. Otherwise, the process to add an account is generally as follows:
- Locate the MFA page in the settings of the application
- Select an authenticator option (Sometimes they will be named “Google Authenticator” or the like but any One-Time-Password QR Code should work Authy).
- Open the Authy mobile app
- Tap the three dots in the top right corner
- Tap ‘Add Account’
- Tap ‘Scan QR Code’
- Point the phone at the QR code displayed by the application
- Type the generated code into the application to confirm
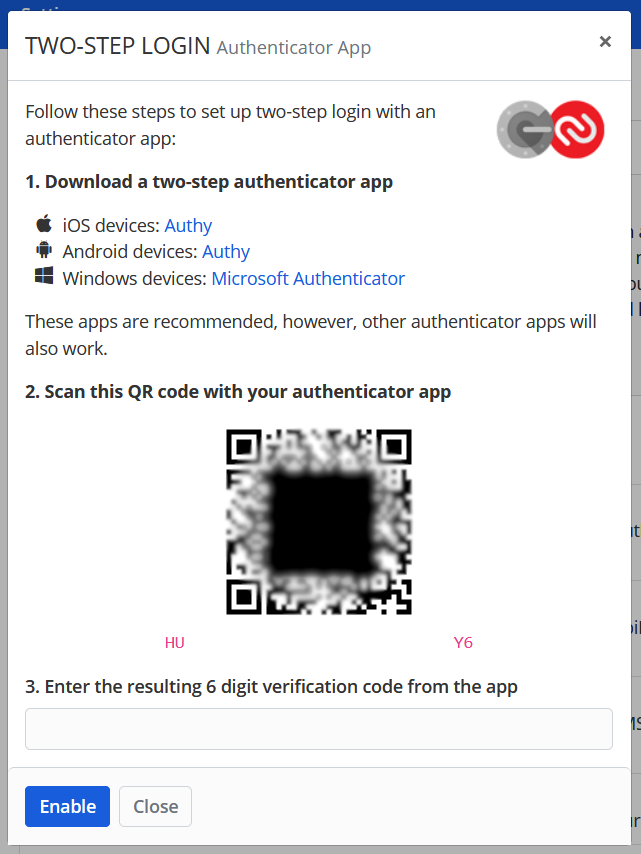
Using Authy with Bitwarden
Let’s give this a go right now, with Bitwarden. The below screenshots show how to access the MFA QR Code for Bitwarden from the website. For help adding an MFA code to Authy refer to the previous section or the available Authy documentation: https://authy.com/guides/bitwarden/.
Your other important applications
For the rest of this week’s security improvements, you should turn on MFA and add the MFA codes to Auth for all your most important services/applications. Let’s be real… You’re not going to do it for EVERY application, and since you’re now (or will soon be) using Bitwarden for storing random, secure passwords, you don’t need to. So what is an “important” service, then? Anything that you absolutely have to protect:
- Banking and financial services
- Email (so that hackers can’t abuse password the reset feature)
- Bitwarden and other security applications
- Cloud file storage like Dropbox where you might have that secret family pasta recipe
- Government application - Don’t want your identity stolen, now.
If any of the above get hacked, you’re in for days of stress and frustrating calls to support lines. Include anything else that might be important to you.
We’ve now dedicated 2 Fridays just to passwords. I hope this shows how important they are to your security. Next week we’ll make a basic plan for securing your devices; the things that you actually use to access all your data.
Oh, I almost forgot! Go grab yourself a slice of lemon cheesecake as a reward for your efforts today. You deserve it.
3rd Friday: Managing Local Apps
This week you’ll be decluttering your devices. That’s desktops, laptops, phones, iPads and anything else you use to access your applications. Local apps are the ones that live on your device. You installed them by downloading a file and running it or from an app store. Why do we care about these apps? They can potentially be abused by hackers to gain access to your devices without your password and without your knowledge. If this happens, Bitwarden and all your passwords might be exposed. That’s bad! We want to prevent that.
We’re going to perform 3 steps to try and prevent this from happening:
- Remove any applications that you don’t use regularly.
- Update all the remaining applications on your device.
- Perform these two steps every 6 months.
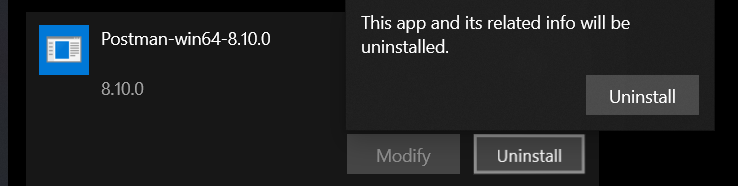
Removing unused applications
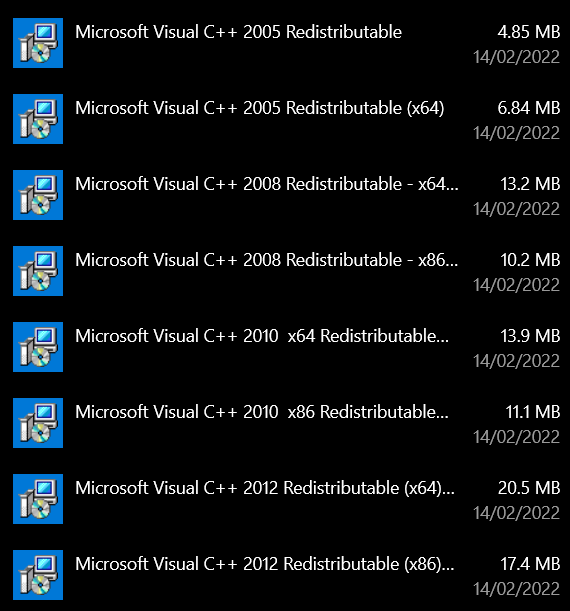
Just like in your home, sometimes your devices need a good decluttering! I recommend removing applications that are not actively used. Haven’t used it in the last 6 months? Time to uninstall. (You can always install it again later.) There does need to be some caution on Windows however as some programs rely on “Microsoft Redistributables” that should not be uninstalled.
Say goodbye to the bloat. I’ll run through this process in Windows, but it should be similar on Mac, Android and iOS.
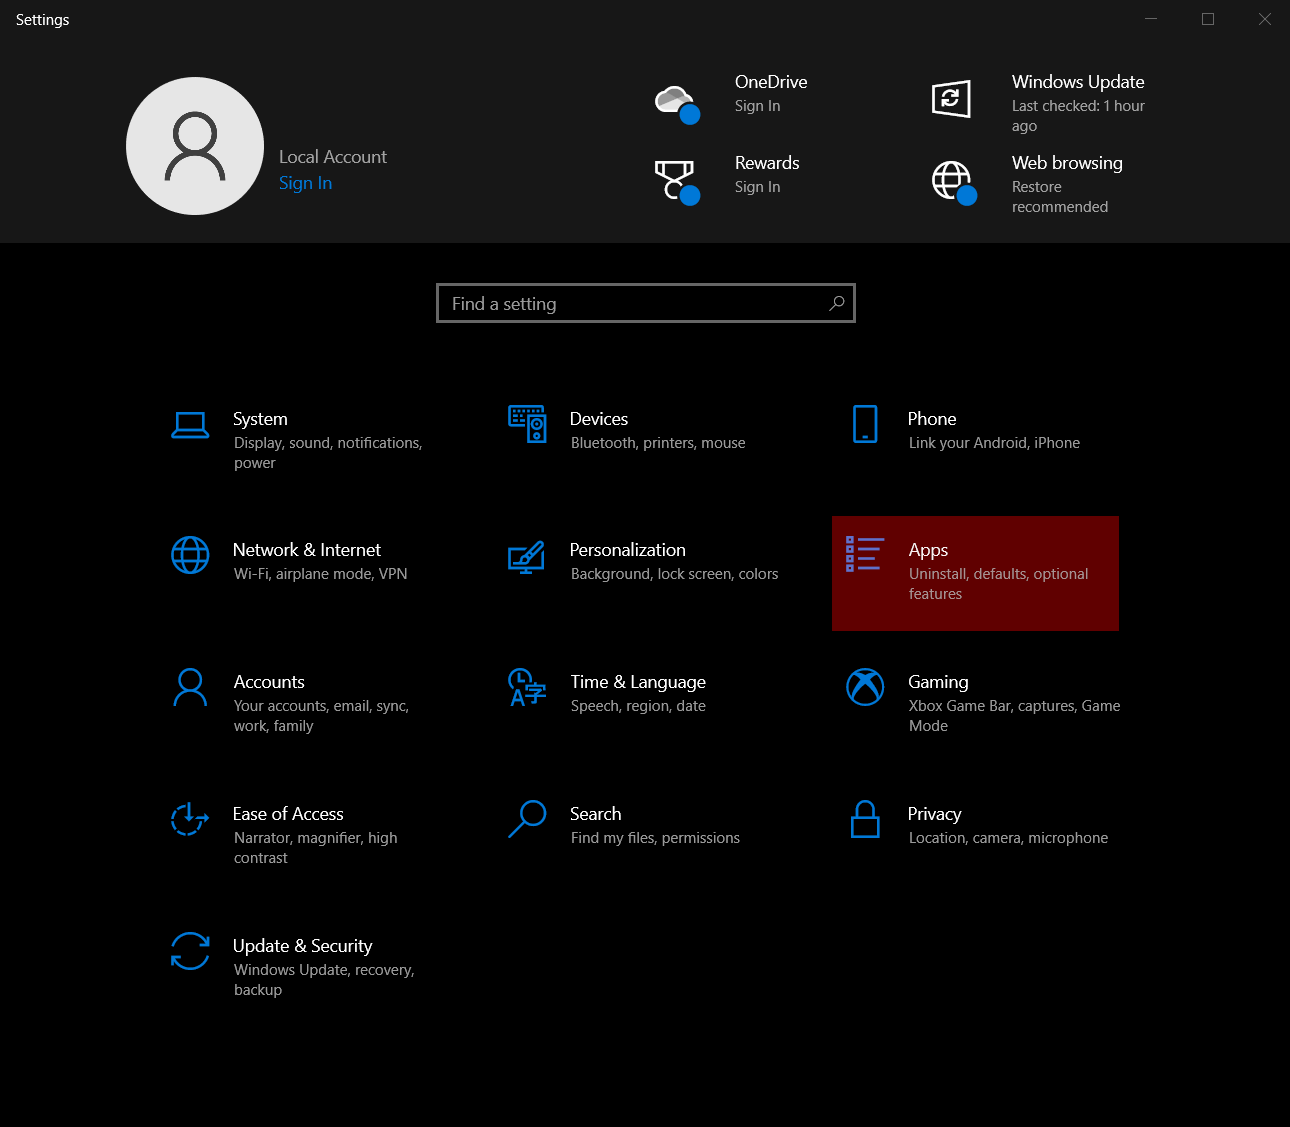
Go to Settings, then Apps.
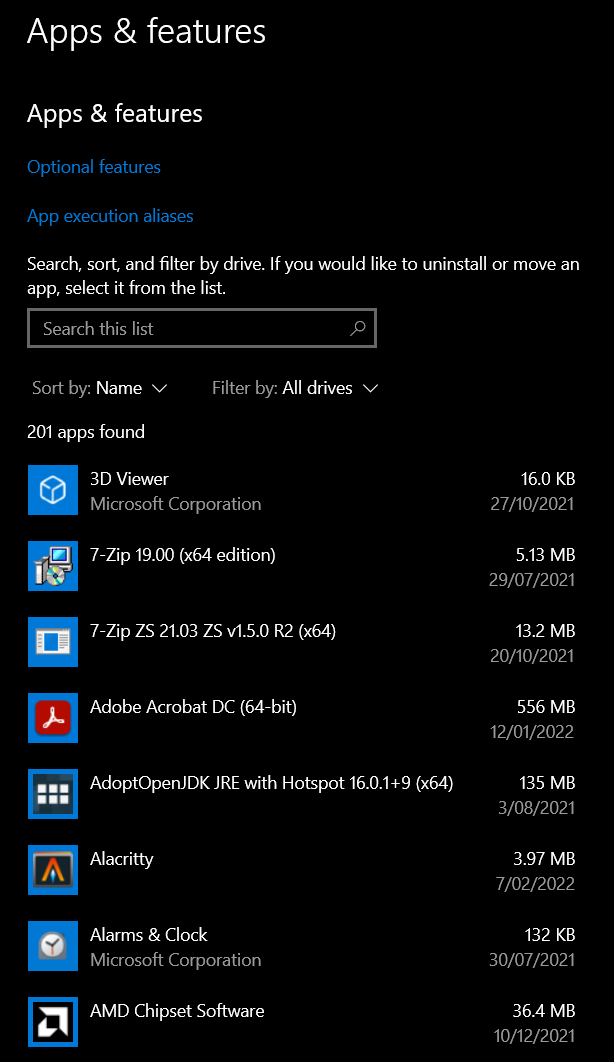
Go through the whole list, one item at a time. If you haven’t used that app in the last 6 months, uninstall it.
Now go and do this for all of your devices including your phone and tablets. Once you’re done, not only did you remove all the excess “stuff” that can be abused by hackers, you also cleared up some storage space and probably made your devices run a bit faster!
Updating Applications
I have some good news and some bad news. The good news is that Android, iOS and most of your desktop/laptop apps update automatically on their own (unless you’ve disabled or ignored them). The bad news is that some app in Windows and Mac need to be manually updated. We’ll focus on those apps in Windows.
Unfortunately on Windows, updating applications is very inconsistent. Generally, the way programs do their updates is as follows:
- In-built automatic update features like in Google Chrome and Firefox (the best kind of updates).
- In-built update checking, but requires a manual trigger.
- In-built version info, but no checks to see if updates are available (the worst kind of updates).
In the case of in-built update checking, many applications will prompt you, asking “Do you want to update?” and most people say “Not today…”. However you, being a security conscious person, should not ignore them and click yes straight away. Worst-case, make sure you click yes on your 6-monthly update cycle.
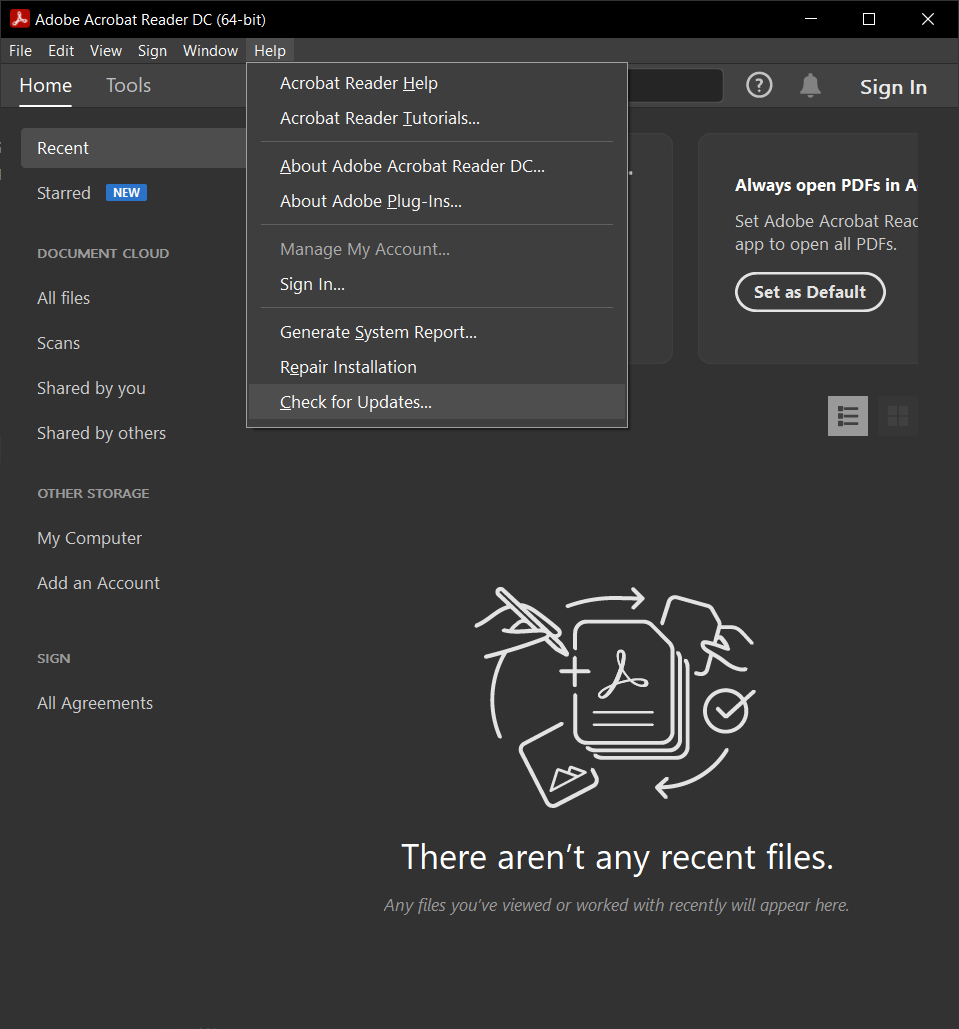
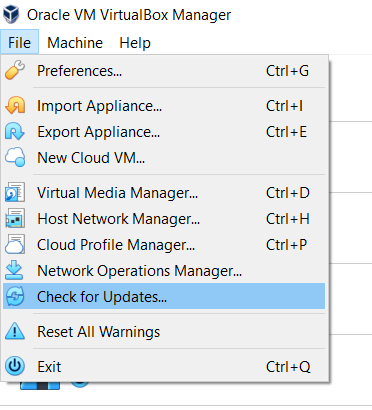
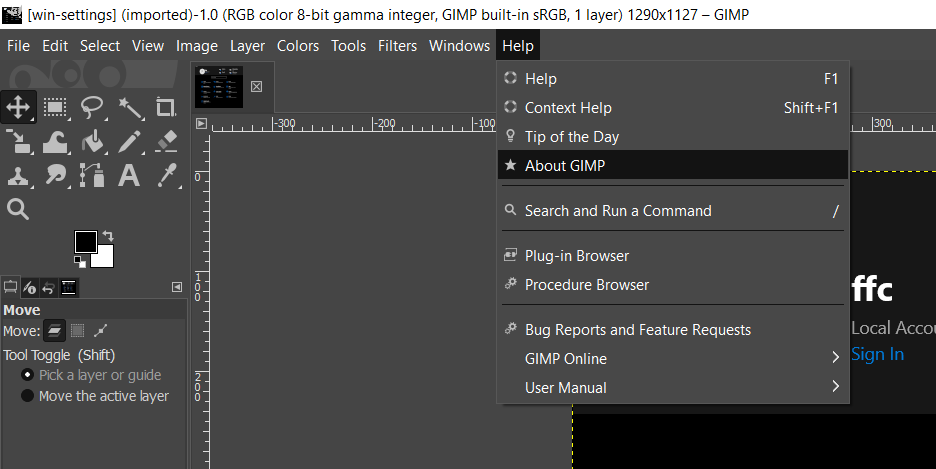
Other applications will not prompt the user to update, but do provide functionality to check for updates. Below is an example of how to force an application to check for updates in three different applications:
Finally, we have the applications that don’t have any update functionality. There’s no choice but to uninstall the app, download the latest installer and reinstall the app again.
Now, go through all of your applications and update them. If you’re not sure what apps you have, go into the Settings -> Apps area like we did in the previous section.
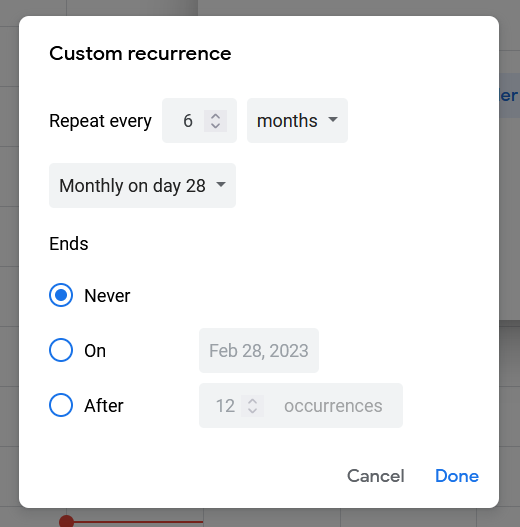
Setting Calendar Alerts
Remember, we need to do this at least every 6 months, and it’s easy to forget. So, you’re going to create a calendar reminder for yourself. Below is an example of setting a reminder in Google Calendar. Go and do this right now.
By now, you’re probably sick of staring at a screen. Take yourself and your family (or friends) out to dinner! And, why not make this a tradition every 6 months?
4th Friday: How to use Bitwarden moving forward
This is the last Friday until you move to your 6 monthly update cycle. How exciting! Today we’re going to incorporate Bitwarden into your regular routine. You’ll be using it quite frequently and for all your accounts; not just important ones. By the end of today you’ll know:
- How to use Bitwarden on your phone
- What to do with existing accounts
- How to register a new account for a website and store it in Bitwarden
Installing Bitwarden on your phone
Having your password manager on your phone is very useful. Typing a long password into an application’s password entry is time-consuming and easy to mess up. Bitwarden supports, in some applications, auto-filling credentials and copying passwords into the clipboard to be pasted into any application. As a bonus, you’ll always have your passwords handy just in case you need them.
Bitwarden’s instructions for using their app on mobile is quite good, so I’ll just link to it here: https://bitwarden.com/help/getting-started-mobile/.
The download links for the Bitwarden mobile apps can be found here, or by searching for ‘Bitwarden’ in the relevant app store:
- Android App — https://play.google.com/store/apps/details?id=com.x8bit.bitwarden
- iOS App — https://apps.apple.com/app/bitwarden-free-password-manager/id1137397744
Go ahead and install Bitwarden on your device now. Make sure you can login successfully, and practice logging in and out of a service you already have in Bitwarden.
The rest of your accounts
You previously added your most important accounts into Bitwarden and that was a good start. But all your other accounts could use some love too; current and future ones. In this section, I’m going to give you a plan for what to do moving forward.
Existing accounts
You probably have hundreds of them! Remember MySpace? Your account still exists. I don’t want this to be too much of a chore, so I won’t ask you to remember and go and save each one in Bitwarden. But, in return you have to promise me that as you login to accounts not yet saved into Bitwarden, you will save them AND change the password to something random; just like we did for your important accounts. As a refresher, here are those steps again:
- Login to an account and save it to Bitwarden
- If it doesn’t automatically save, do it manually and associate it to the website
- Change the password to a new, randomly generated one
- Logout, then login again using Bitwarden, just to make sure it worked.
The rule is, if you use the account, it goes into Bitwarden.
New account registration
Then, there’s new accounts. Any new accounts you create should also be saved in Bitwarden. When creating a new account for a website, use the ‘Generator’ tab of Bitwarden to create a random password.
Upon creating the account, you should be prompted to save them into Bitwarden.

If, for some reason, you’re not prompted, use the manual method I discussed earlier.
Where to from here
That’s it! You’re done with this guide. If you got this far and actually did everything, I want to say a huge thank you! Actually, you should be thanking yourself too. You’ve seriously improved your security to a place better than 95% of people.
From here you should continue to do the things you’ve learned. Specifically:
- Add existing accounts into Bitwarden as you use them
- Add newly created accounts into Bitwarden
- Every 6 months, uninstall unused apps and update the rest
- Teach all this to others. (Or give them this guide)
There’s so much more to security, so if you’re looking for something to do next, I recommend looking at hardening your Windows devices. This guide, from the Australian Cyber Security Centre (ACSC), is great: https://www.cyber.gov.au/acsc/view-all-content/publications/hardening-microsoft-windows-10-version-21h1-workstations. Be warned, though, it is highly technical and not for the faint-hearted.
All the best in your security journey!
Alexei Doudkine — Offensive Director @ Volkis
About the author
Alexei Doudkine is Co-Founder and Offensive Director at Volkis. Hacker, tinkerer, car modder and dog person, Alexei has been in the infosec game for over 10 years focusing on the “attack” side of security. You can catch him on Twitter and LinkedIn.
If you need help with your security,
get in touch with Volkis.
Follow us on Twitter and
LinkedIn